

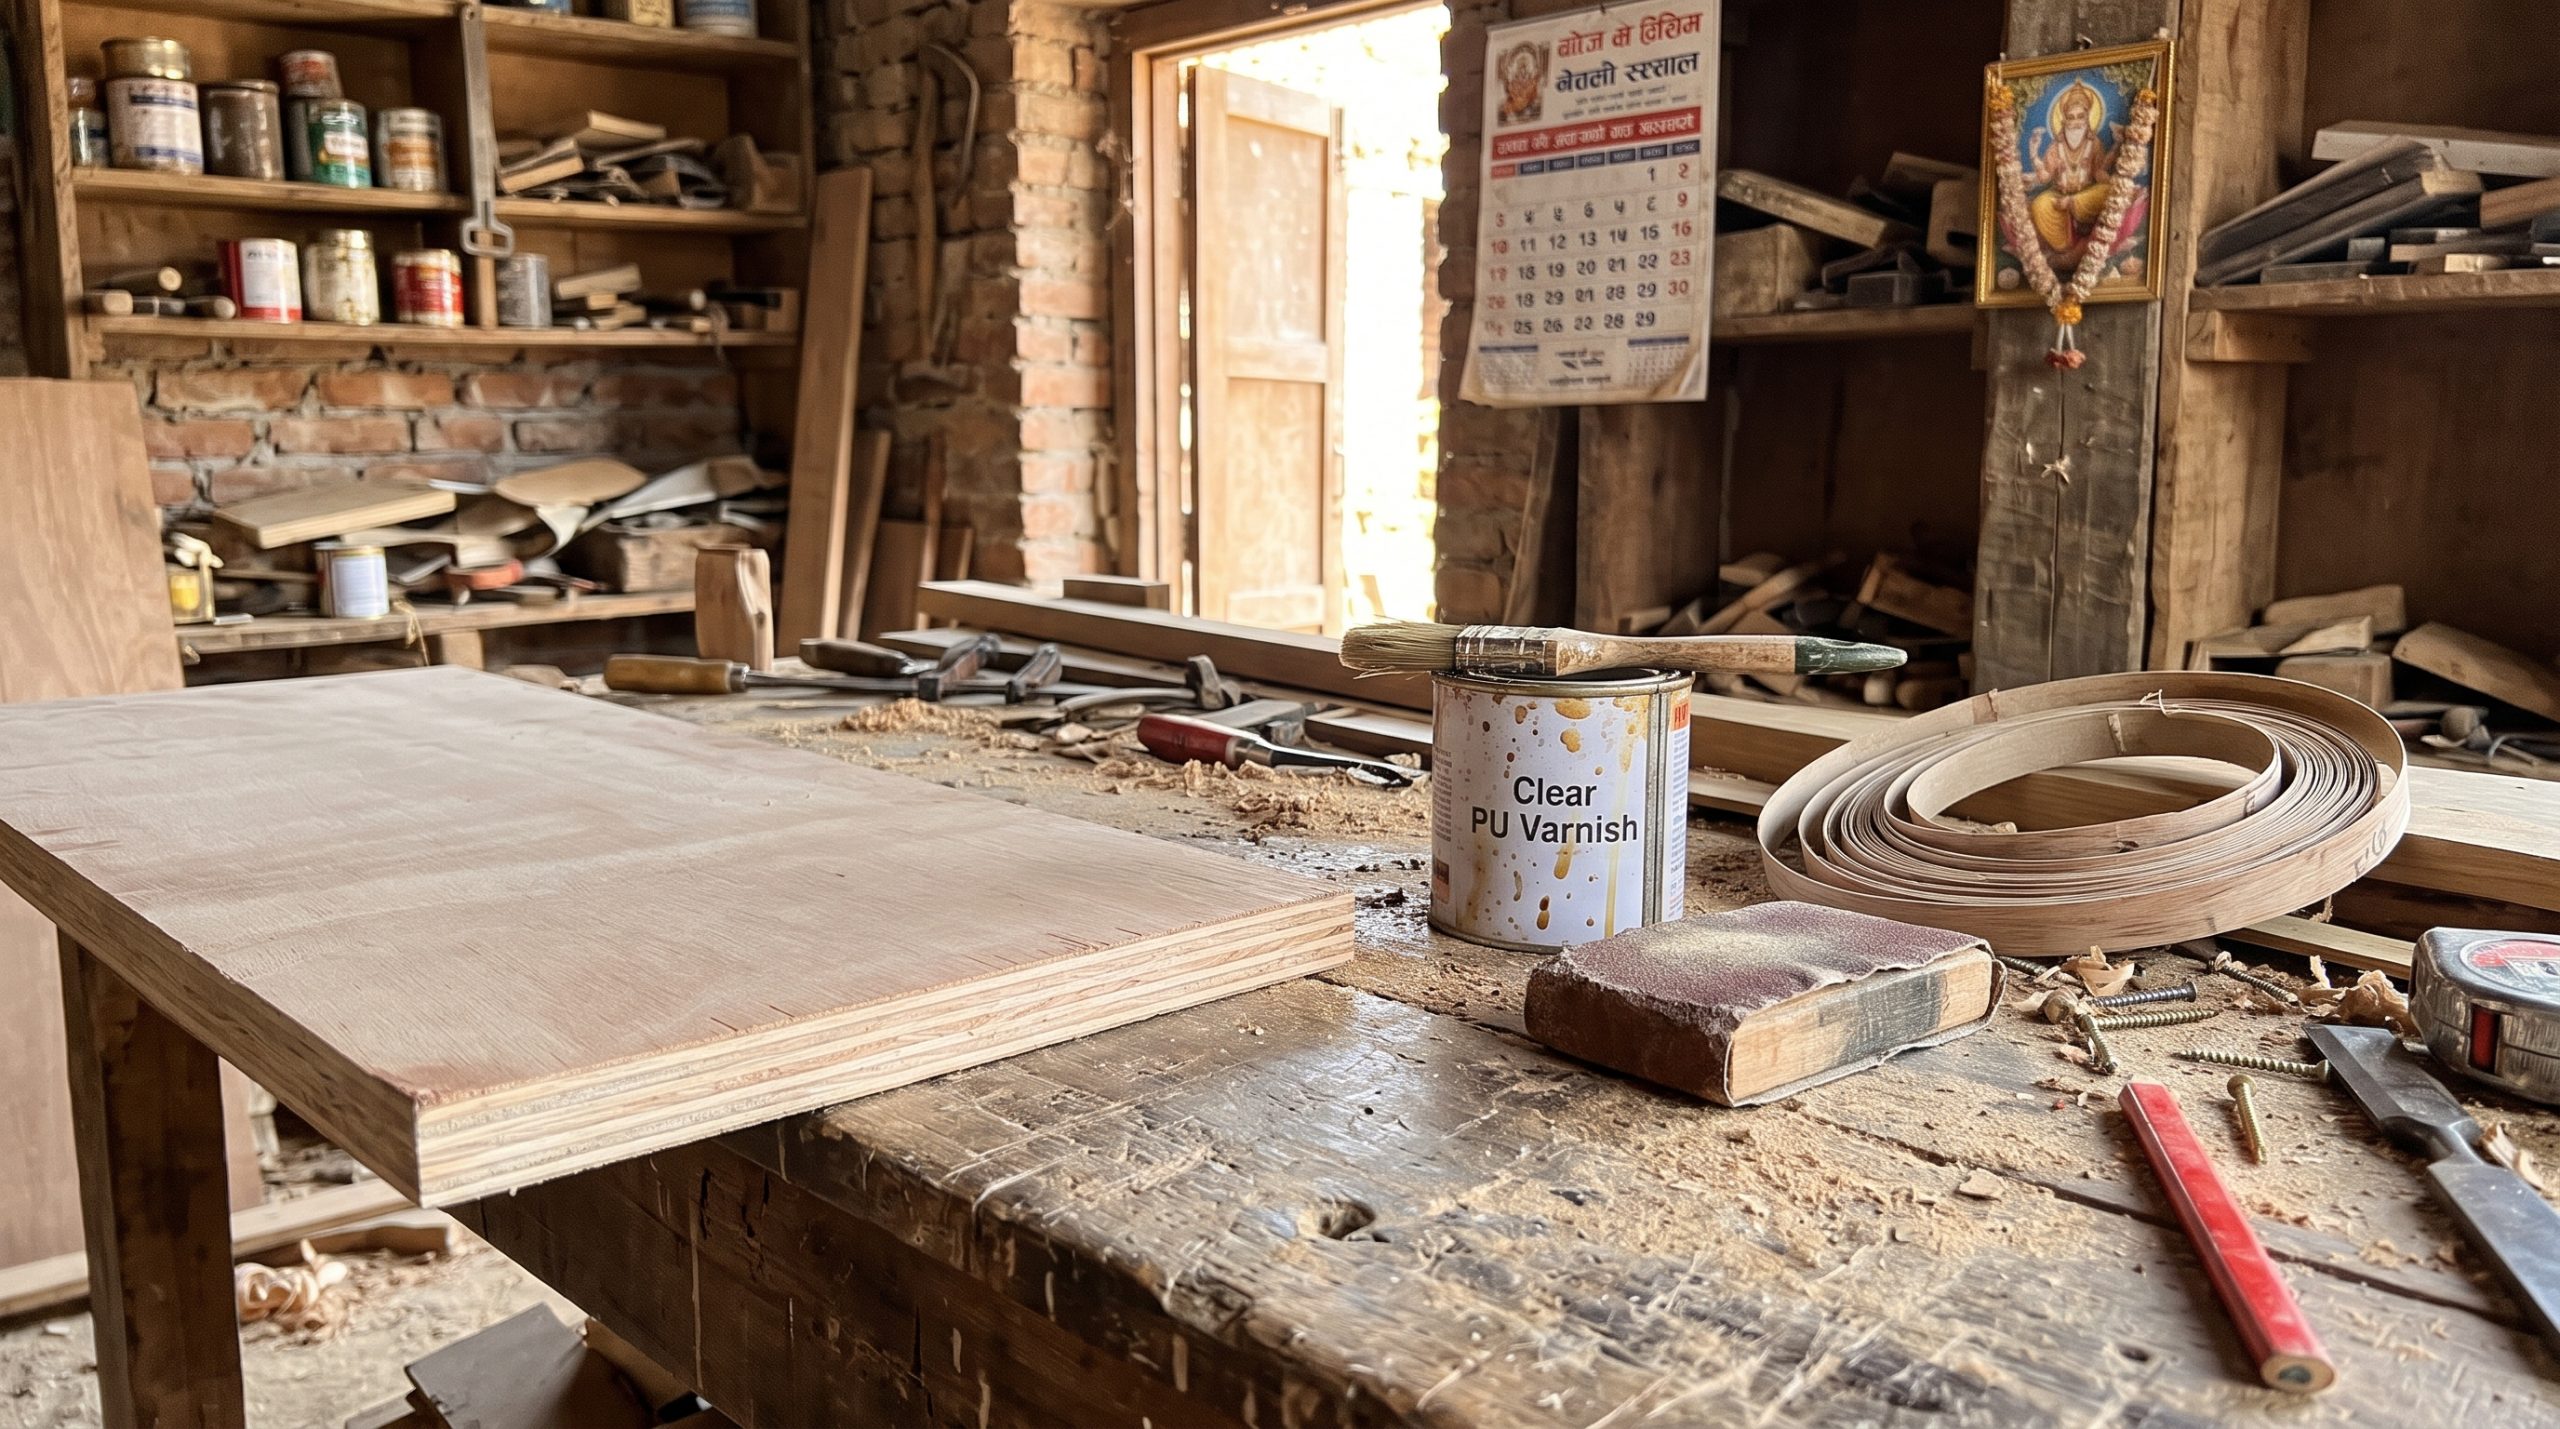
Ask any experienced carpenter where plywood furniture fails first, and the answer is almost always the same: the edges. A shelf bottom swells after one wet monsoon, the corner of a door turns dark, a hole cut for a pipe starts to crumble. None of this is a sign of weak plywood. It is the result of leaving raw edges open. If you take one lesson from this blog, make it this: seal plywood edges before furniture goes into use, and again whenever you see a chip. It takes minutes, costs very little, and can add years to the life of your wardrobe, kitchen or bed.
Why Plywood Edges Are the Weak Point
Plywood is made from thin layers of wood veneer glued under pressure, each layer turned at right angles to the next. The faces of the sheet are smooth and tight, but the edge shows the ends of all those layers. Wood absorbs moisture far faster through its ends than along its length, a basic property explained in the USDA Wood Handbook. So an open plywood edge absorbs humidity, spills and mop water much faster than the face does.
Once moisture gets in, the layers swell and push against the laminate or veneer glued on top. The result is lifting corners, bubbling surfaces and a rough, rounded edge that cannot be fixed by sanding alone. Sealing closes those layer ends so water has nowhere to enter.
Where You Must Seal Plywood Edges
Many people only think of the visible front edge. The hidden ones matter just as much.
- Bottom edges of doors, shutters and side panels, which sit closest to floor moisture
- Cut outs for sink pipes, gas lines, taps and electrical points
- Hinge and screw holes, especially drilled holes near edges
- Shelf edges inside wardrobes and kitchens
- Back panel edges where they fit into grooves
- Any place where a carpenter has trimmed the sheet on site
If a cut was made after the sheet left the factory, it is raw and needs sealing. This includes the small trims made to fit furniture into an awkward corner.
Four Ways to Seal Plywood Edges
Different edges need different methods. Here is how the main options compare.
| Method | Best for | Pros | Watch out for |
|---|---|---|---|
| PVC or ABS edge banding | Visible edges of doors, shelves, tabletops | Neat finish, matches laminate, fast with the right tool | Poor gluing leads to peeling, and cut ends must be sealed first |
| PU or polyurethane varnish | Raw edges, inside cabinets, kitchen and bathroom units | Strong water barrier, clear or tinted | Needs two or three coats, dry time between coats |
| Sealant or silicone | Around sinks, pipe cut outs, wet joints | Flexible, closes gaps | Not for large visible surfaces, hard to repaint |
| Wood primer plus paint | Painted furniture | Colour match, low cost | Single thin coats fail quickly, so use two or more |
For most home projects, a combination works best: edge banding on visible edges, PU varnish on the hidden raw edges, and silicone at pipe cut outs.
How to Seal Plywood Edges Step by Step
Step 1: Sand the edge smooth. Use fine sandpaper, around 180 to 240 grit, and sand along the edge lightly. The goal is a clean surface without loose fibres, not a rounded edge. Wipe off dust with a dry cloth.
Step 2: Fill gaps if needed. If the edge has small voids or chipped spots, fill them with wood filler, let it set, and sand again. A smooth edge seals better and looks cleaner.
Step 3: Apply the first coat. For varnish or sealer, brush the coat along the edge in one direction. Do not rush. A thin, even coat soaks in better than a thick one. Let it dry according to the can, usually a few hours.
Step 4: Sand lightly and recoat. Between coats, a very light sanding with fine paper helps the next coat stick. Apply a second coat, and a third on edges that will meet water, such as bottoms and pipe cut outs.
Step 5: Edge banding for visible edges. Cut the band slightly longer than the edge, heat it with an iron or edge banding machine so the glue melts, press firmly and trim the extra. A final light rub with fine paper removes sharp corners. If you hire a carpenter, ask them to apply banding on all visible edges, not just the front of the door.
Step 6: Seal screw holes and pipe cut outs. Dab sealer into drilled holes before putting in screws, and press silicone into pipe cut outs so no raw wood is visible.
Common Mistakes to Avoid
Even careful owners make small mistakes that undo the work. Watch out for these.
- Sealing only the front edge and ignoring the back, bottom and inside
- Applying one thick coat of varnish that stays sticky and wears off quickly
- Using edge band on a dusty edge, which weakens the glue bond
- Painting over bare plywood without a primer or sealer
- Skipping edge care on cheap shelves because they look hidden
- Using ordinary tape or glue that has no moisture resistance
When to Re-Seal
Sealed edges are not forever. Knocks, cleaning and daily wear slowly open small gaps. Inspect your furniture every few months, especially before and after the monsoon. Look for chips, dark lines at corners, small cracks in the sealant or a band that has lifted at the end. If you spot any, clean the area, sand lightly and apply a new coat. Catching a small chip early takes five minutes, while repairing a swollen panel can take days. Our guide on fixing common plywood furniture problems shows what to do if moisture has already entered.
Quick Decision Box
| If you have… | Best choice |
|---|---|
| New wardrobe being made | Ask the carpenter for edge banding on all visible edges and PU varnish on hidden edges |
| Kitchen under the sink | PU varnish plus silicone around pipe cut outs |
| Old shelf with chipped edge | Sand, fill, two coats of varnish or fresh edge band |
| Painted furniture | Primer, two coats of paint, and a final clear coat on edges |
A Note on Nepal’s Climate
In the humid Terai and the monsoon belt of eastern Nepal, edge sealing is not optional. Mop water, wet floors and long spells of rain mean edges absorb moisture quickly, so aim for two or three coats on all bottom edges. In drier hill homes, banding and one good coat of varnish may be enough, but damp walls and winter condensation still make edge care important. For the bigger picture on managing dampness, read our guide on how to protect plywood furniture from moisture.
Frequently Asked Questions
Is edge banding better than varnish? Edge banding gives a neat look and a good barrier on visible edges, while varnish is easier for hidden or irregular edges. Using both is best.
How many coats of varnish should I apply? Two for dry areas, three for kitchens, bathrooms and bottom edges.
Can I seal edges myself? Yes. Sanding, brushing varnish and applying silicone are simple tasks. For banding, a carpenter with the right tools gives a cleaner result.
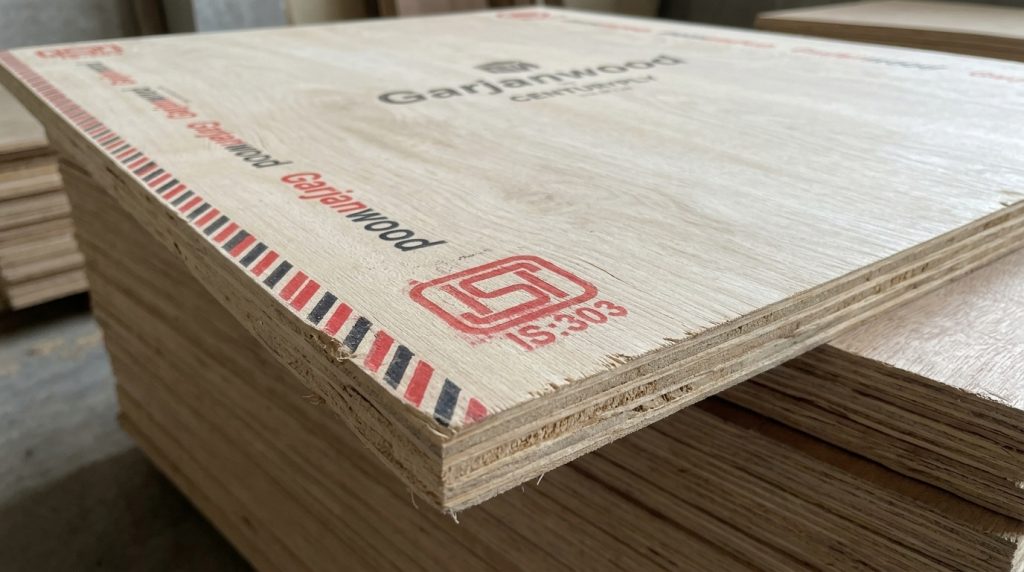
Start with the Right Board: Garjanwood by CenturyPly
Sealing protects the edge, but the board itself still matters. Garjanwood by CenturyPly is manufactured at Century Ply Industries in Barju, Sunsari, and is IS:303 certified. Look for the pale cream Garjan grain, the diagonal red and black edge band with the Garjanwood name, and the red IS:303 stamp at each corner. Pair a trusted board with well sealed edges and your furniture will stay solid for years. Learn more at centuryplynepal.com.