

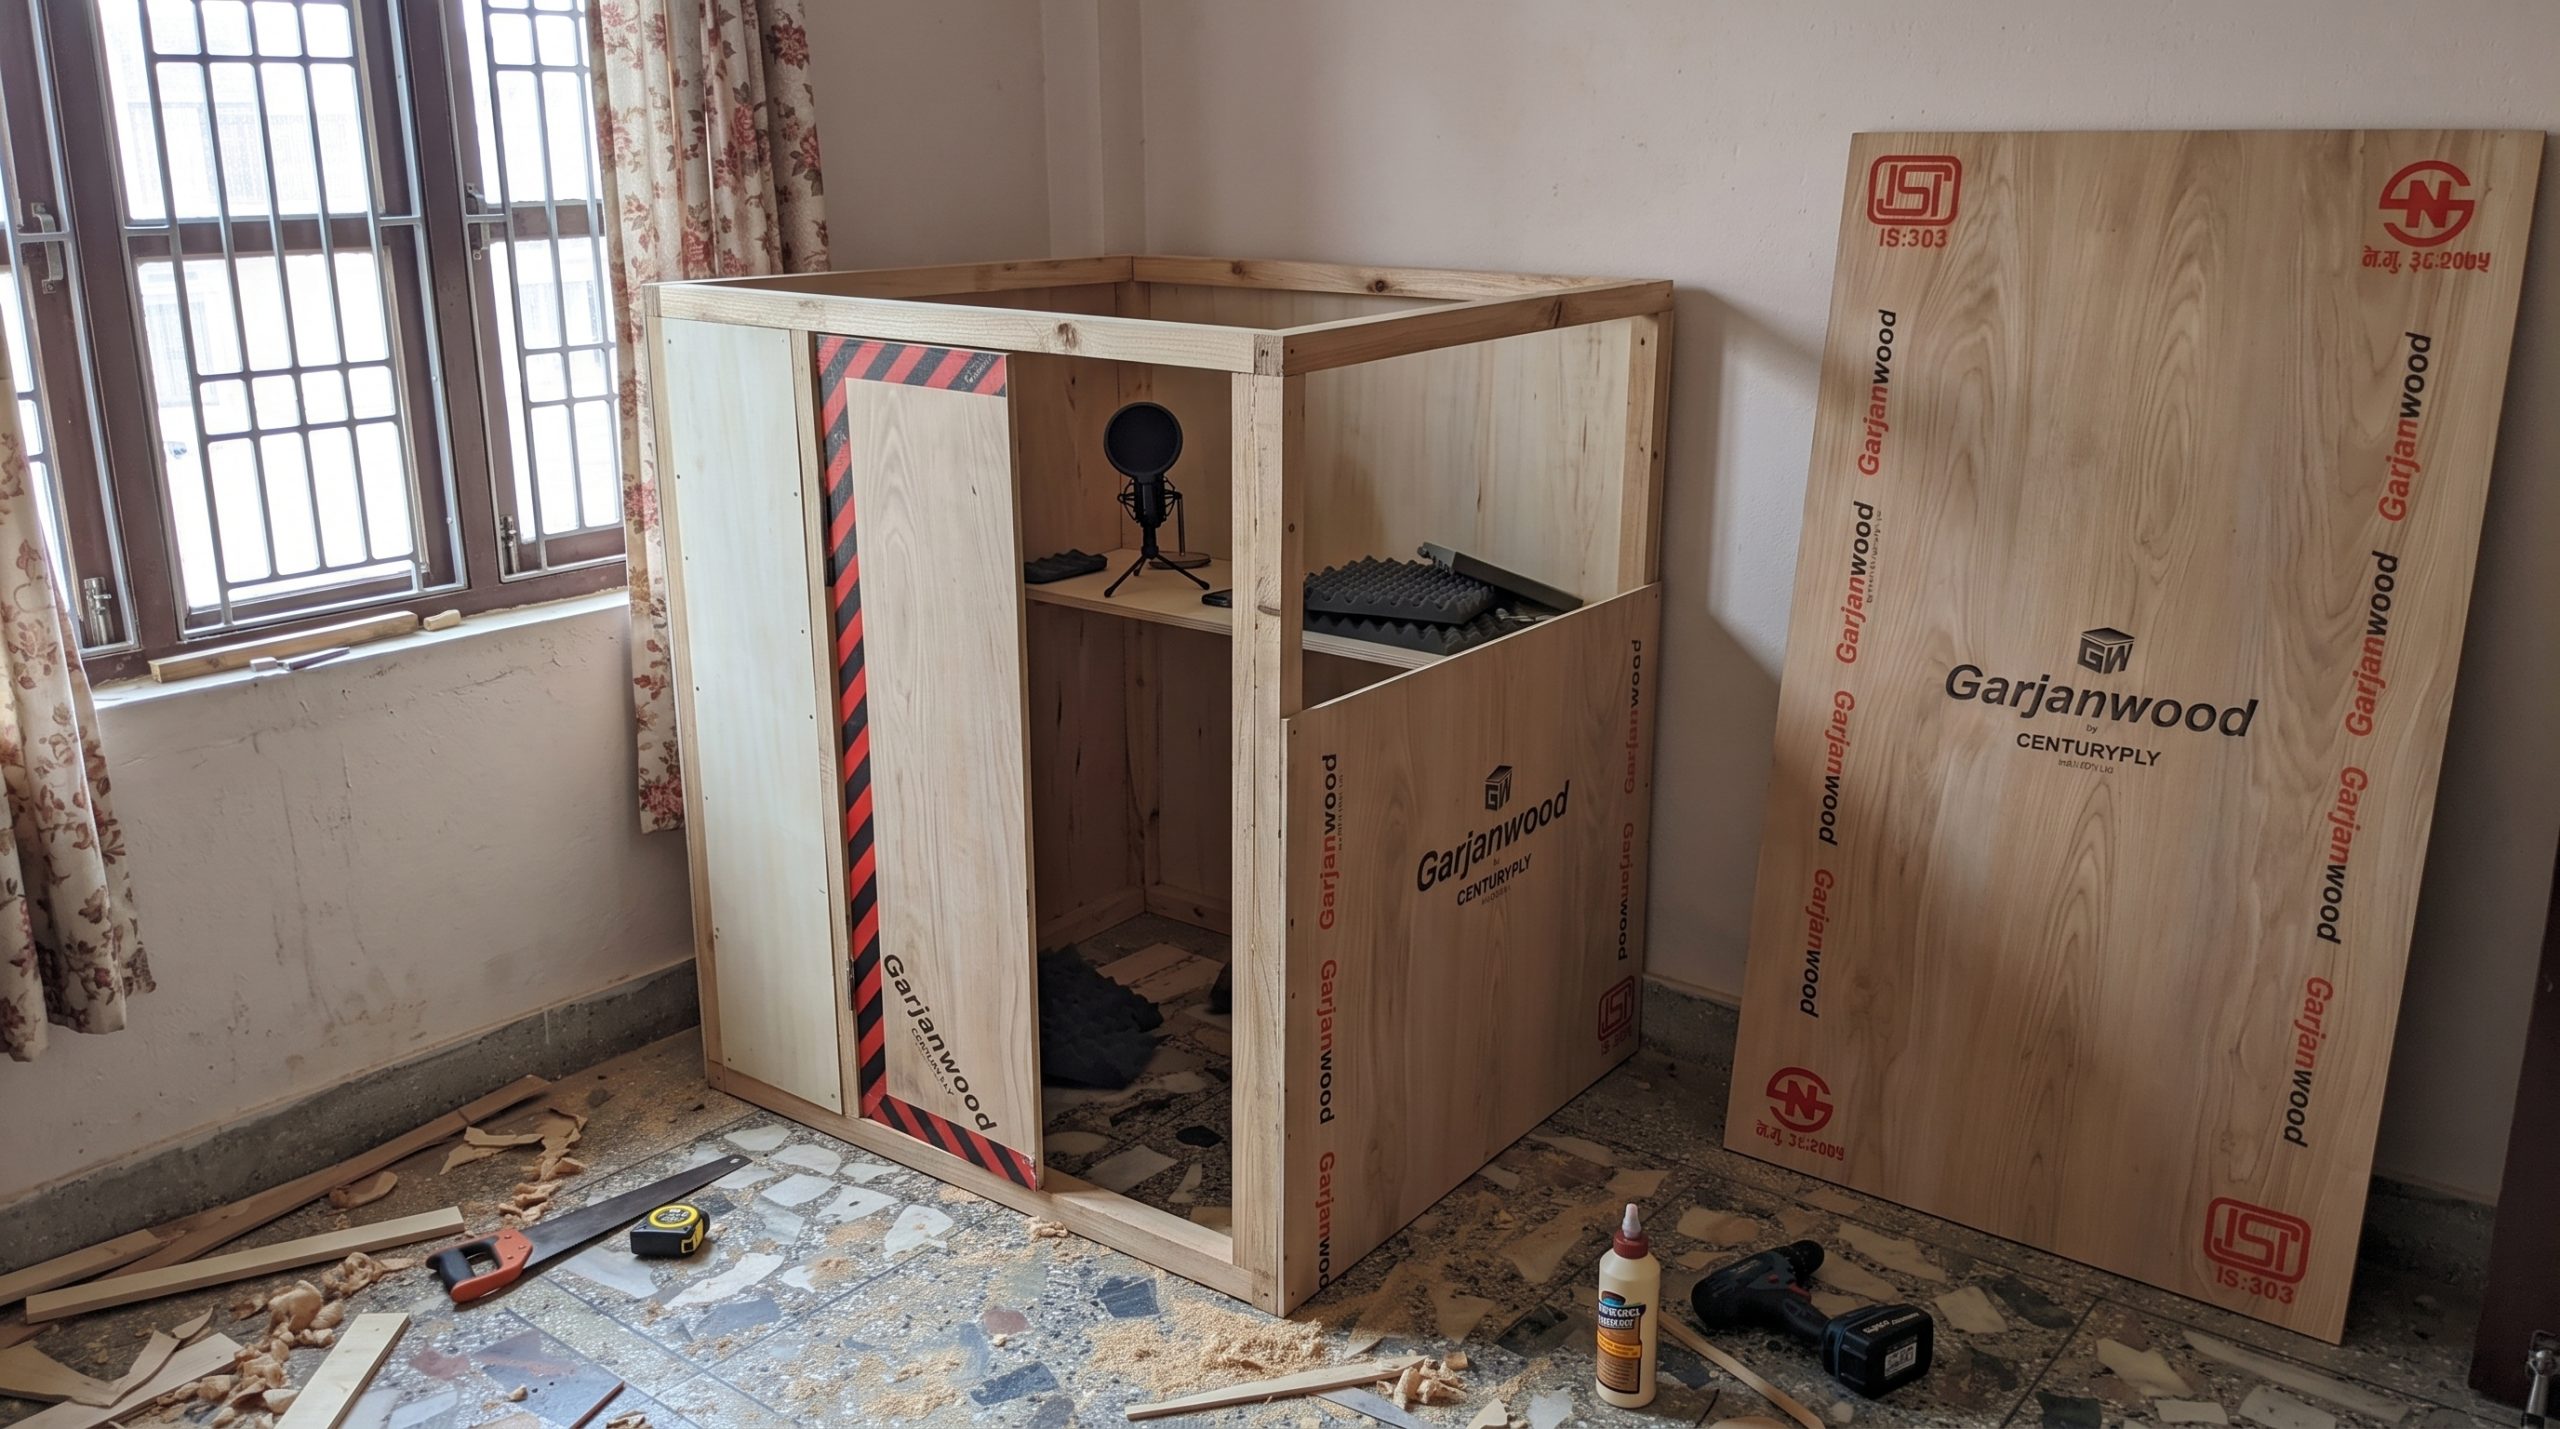
Nepal’s creators are growing fast. Podcasters, YouTubers, singers, voiceover artists and online teachers all need a quiet place to record, but a professional studio is out of reach for most. The good news is that a well-planned DIY booth can transform your audio. This guide to home studio plywood Nepal builders can follow explains what plywood does well, what it cannot do alone, and how to build a booth that actually sounds better.
Why Plywood Works for a Home Studio
Plywood is rigid, easy to cut, strong for its weight and widely available. For a home booth, it is ideal for the structure: floor platform, wall frames, door, shelves, equipment desk and cabinets. It can also be finished neatly with paint or laminate so the space looks professional on camera.
What plywood does not do by itself is soundproof a room. That job belongs to mass, sealing and separation, and it is important to understand this before you spend any money.
Soundproofing vs Acoustic Treatment: Know the Difference
Many beginners mix these up, and it leads to disappointing results.
| Goal | What it means | How to achieve it |
|---|---|---|
| Soundproofing (isolation) | Keeping outside noise out and your sound in | Mass, airtight sealing, decoupled layers, solid door |
| Acoustic treatment (absorption) | Controlling echo and reverb inside the room | Soft absorbing panels, bass traps, uneven surfaces |
A bare plywood box will echo badly, and it will leak sound through every gap. A good booth uses plywood for the structure, dense layers and sealing for isolation, and absorbent panels for a clean recording sound.
Where to Use Plywood in Your Build
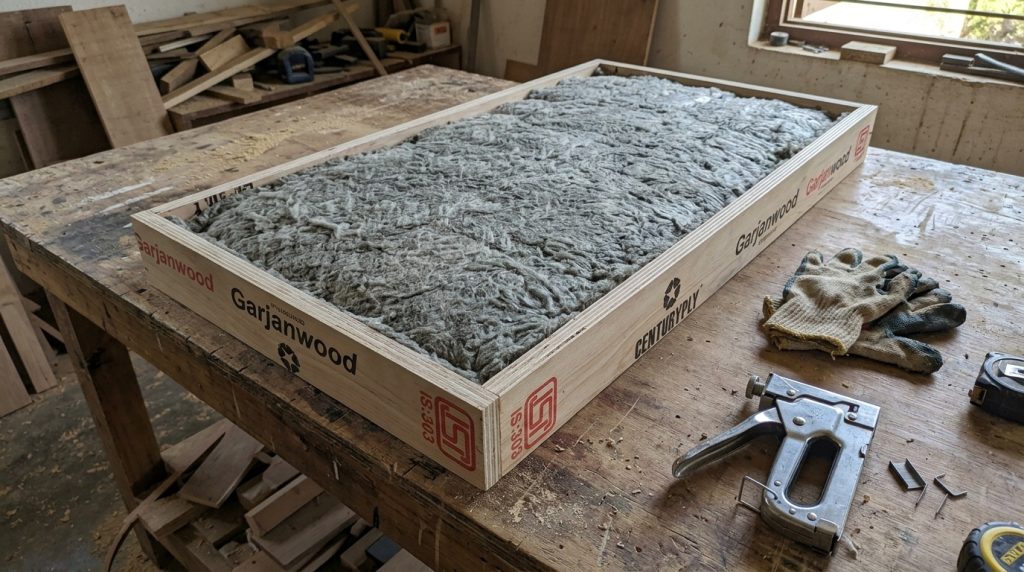
- Frames for acoustic panels: Build light plywood or timber frames, fill them with mineral wool or glass wool, and cover with breathable fabric.
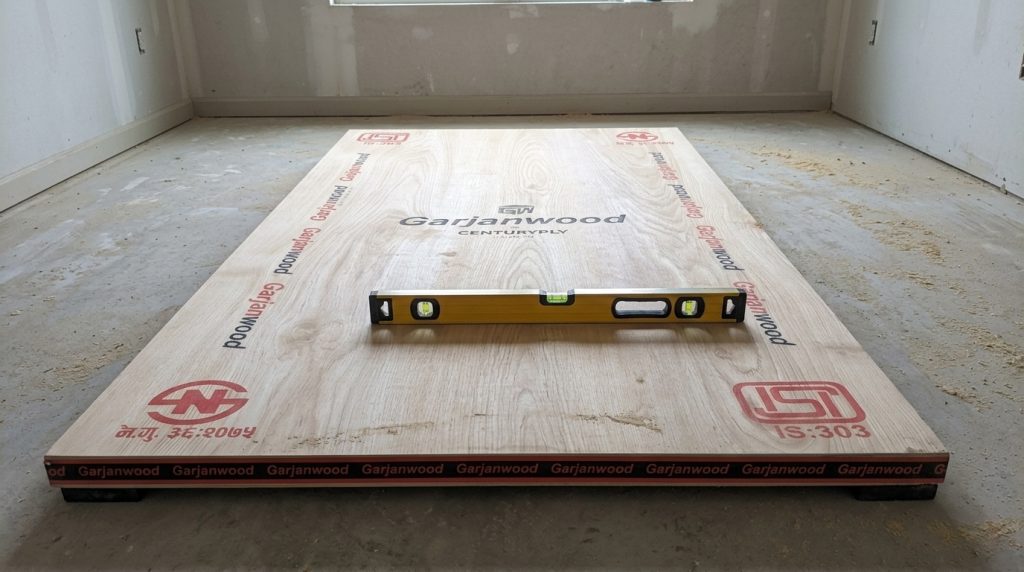
- Platform and floor: A floating plywood platform on rubber or dense foam pads helps reduce vibration travelling through the floor.
- Wall structure: Plywood skins on a timber frame add mass and rigidity.
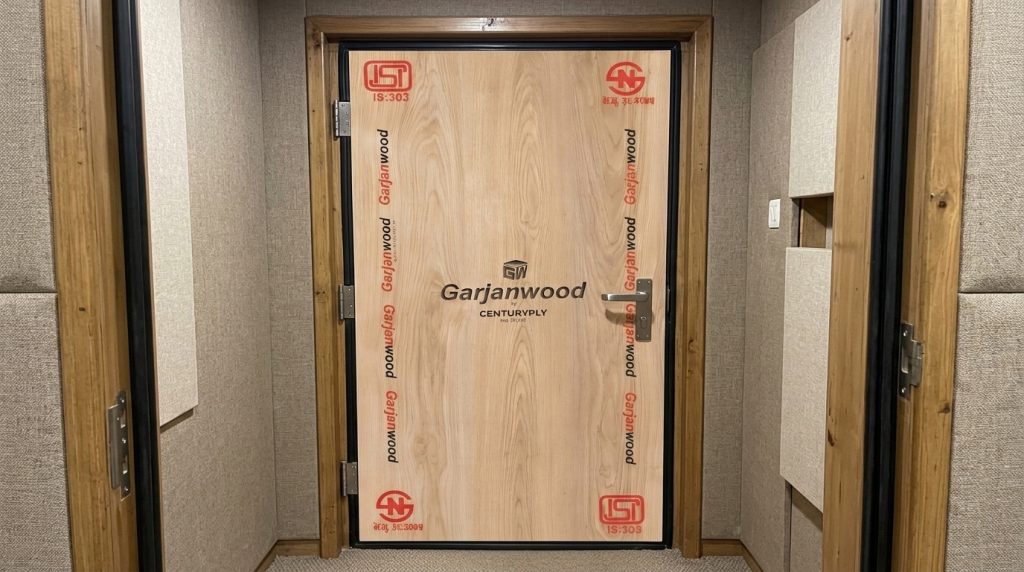
- Door and frame: A heavy, tight-fitting plywood door with seals around the edge improves isolation far more than a hollow one.
- Equipment desk and shelves: Strong, flat surfaces that keep gear stable and tidy.
- Speaker cabinets and stands: Dense plywood is a classic choice for building speaker boxes.
Choosing the Right Thickness
| Part | Suggested thickness | Why |
|---|---|---|
| Wall and ceiling skins | 12 mm to 18 mm, layered if possible | More mass blocks more sound |
| Floor platform | 18 mm | Rigid and stable under equipment and feet |
| Door | 18 mm, ideally two layers bonded together | Doors are usually the weakest point |
| Panel frames | 9 mm to 12 mm | Light and easy to hang |
| Desk and shelves | 18 mm | Strong and does not flex |
Two layers of plywood with a sealed gap or damping material between them generally isolate better than one thick sheet. Use quality boards with an even, void-free core, since hollow patches inside cheap plywood can rattle and resonate.
Step by Step: A Simple Booth Plan
- Pick the quietest spot. Choose an inner room away from the road, kitchen, generator and street noise.
- Measure and plan. A small booth around 4 ft by 4 ft or slightly larger works for voice. Leave room for ventilation.
- Build the base. Cut an 18 mm plywood platform and place it on rubber or foam pads.
- Frame the walls. Build timber frames and fix plywood skins on the outside, adding a second layer where budget allows.
- Seal every joint. Use acoustic sealant along all seams, edges and cable entries. Air gaps leak sound.
- Make the door. Build a heavy plywood door with weather stripping so it closes tightly.
- Add absorption inside. Mount acoustic panels on the walls and a thicker panel behind the microphone position.
- Plan ventilation. Add a quiet, baffled airflow path, because a sealed booth gets hot and stuffy fast.
- Finish and light. Paint or laminate, then add soft lighting and tidy cable routing.
Acoustic Panels with Plywood Frames
Absorption panels are simple to build and give the biggest improvement in recording quality.
- Build a shallow plywood frame about 2 to 4 inches deep.
- Fill with mineral wool or glass wool insulation. Wear gloves and a mask when handling it.
- Cover with open-weave fabric, so sound passes through to the insulation.
- Mount panels at first reflection points beside and behind your microphone, and on the ceiling above it.
- Place thicker panels in corners to help control low-frequency boom.
Humidity, Heat and Ventilation
Nepal’s climate affects both your wood and your gear. In the Terai, heat and high humidity can swell unsealed plywood and harm microphones and electronics over time. In Kathmandu, cold, dry winters and damp monsoons bring different stresses.
- Seal and finish every face and edge of the plywood, including the back.
- Use a small dehumidifier or silica gel in damp months and keep microphones in a sealed box when not in use.
- Add quiet ventilation. A fan creates noise, so use a slow, low-speed model with baffles and switch it off during recording.
- Keep the booth away from external walls that sweat during monsoon.
Common Mistakes to Avoid
- Expecting plywood alone to stop outside noise.
- Forgetting door seals and cable gaps, which leak sound.
- Using thin boards with voids that rattle.
- Covering every surface with foam, which can make the room sound dead and thin.
- Skipping ventilation and ending up with a hot, stuffy booth.
Quick Decision Box
For noise from outside: add mass, layered plywood, sealed seams, a heavy door. For echo inside: build absorption panels on plywood frames. For a small budget: start with a corner treatment and a well-made panel behind the microphone. Always: seal gaps, plan airflow, and finish the plywood on all faces.
Build a Space That Sounds as Good as Your Ideas
A great recording starts with a stable, well-built space. Garjanwood by CenturyPly is manufactured at Century Ply Industries in Sunsari and is IS:303 certified, with a clean pale cream ivory surface that looks sharp on camera. Ask your Biratnagar or Kathmandu dealer for the right thickness for your booth, and give your voice the room it deserves.